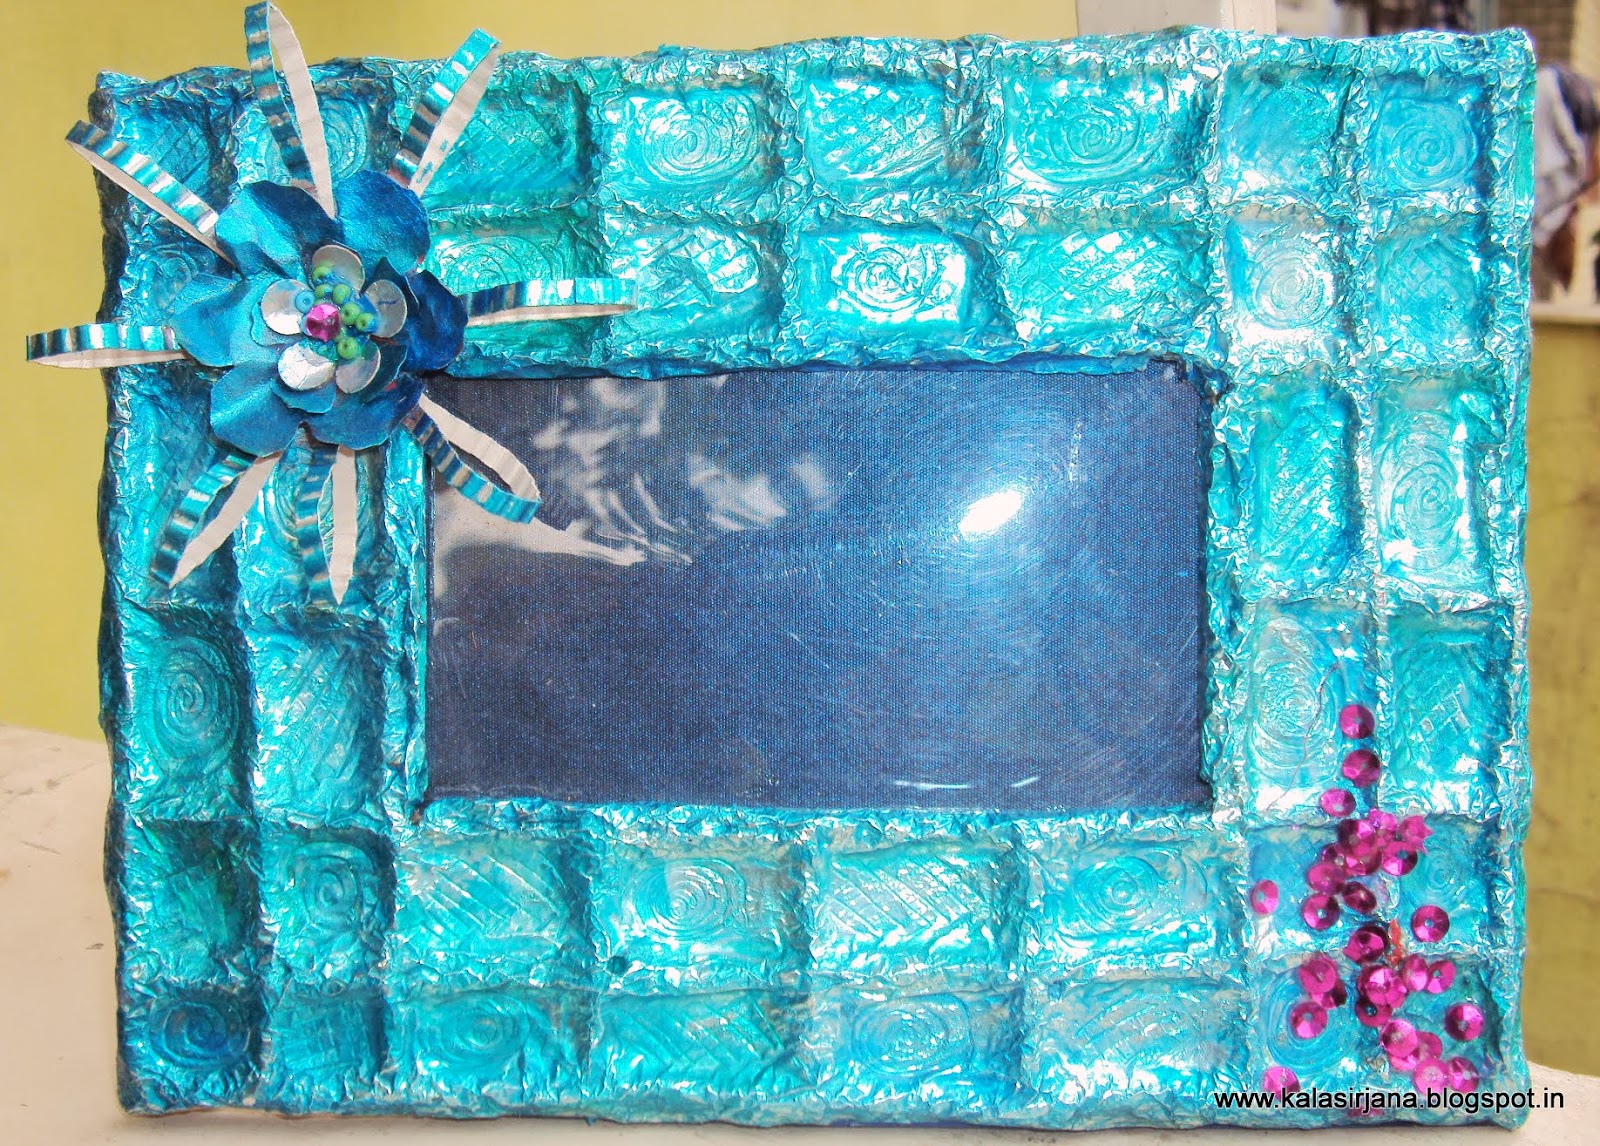
Saturday, June 29, 2013

My First ever Layout

A Quick layout

Hi  FriendsThis is the first ever layout attempted by me and luckily this came together pretty fast. Used some doilies, butterfly and other die-cuts from Kukies basket on top of green corrugated sheet. The yellow and cream flower is made from Twine, lace flowers cut from a piece of  lace, the big pink flower is made from a die-cut set from kukies basket and embellished with pink pearls. 


The orange on black flowers are wooden stamps stamped with colored Gesso (tutorial here) and fussy cut + round mirrors added in centre. Do not miss the faux stitching on the frame. My quilled cat from this post found a permanent place next to my son. BTW, meet my younger son Ritvic........this pic is few years old, picked this as this went with the LO colors and the frame. 


Sequined Tag


Hi Friends

This tag is made out of a recycled tag from garments. Used purple, pink and white acrylic colours for the base, added some pinkish-purple sequins , pink twine and little bit of lace.


This tag is very special to me as there is a special something( my favourites) used on it........do you see the tatting design on it..........well, this was made by my mother some 30 years ago. She had used some on her sari at that time. these were lying with me after she passed away in 2002. They had become yellowed with time but I never wanted to part with these little reminders of hers. Used similar colors on the tatting as on the bg and strung on the tag.


Hope you like this.

Linking to letsgettrendynow3-day-2-sequins
June Challenge - My Favourite Things
MIM

Neon Card and Homemade Gesso Tutorial

Neon Card
 Hi Friends

sharing a simple card for the Let's Get Trendy Now!3 - Day 1: Neon challenge.
Have used a textured handmade paper as base and stamped with homemade Gesso in bright neon orange with wooden stamp.I have embellished the card with some double- fringed flowers.  love the imperfection in stamping as it gives a lovely effect.
Neon Card
Homemade Gesso recipe: I use ceramic clay powder mixed with Fevicol MR( any white PVA glue)+ Water in a 1:1:1 ratio. You can adjust the quantities depending on what you want to use it for. For making embellishments or clay items, you can add more powder to have a dough consistency. For stamping you can have a liquidy texture and add the colour of your choice. The clay mixture works super economic and is good to be used with stamps, stencils or moulds. It keeps well in a tight container in the fridge, air dries quickly and is light-weight. The clay can be kept wrapped in a plastic wrap in the fridge for at least a month. add colors and knead as per your requirement as an when you need. you can embed beads, lace,sequins in this and it adheres very well.One word of caution, wash your stamps immediately and well after stamping with Gesso.


A Frame full of beads

A Frame full of beads
Hi Friends
I have made another Photo frame, this one is for the lessology ' Feel the bead' challenge.
I have used an old photo frame, the glass was broken and the back was lost and it was patiently sitting in my stash for a chance at another life!!
A Frame full of beads
I have made the back with a recycled piece of cardboard covered with PP from a wedding invite.outlined the mirrors with green/blue three D outliner from fevicryl.Pl do write in, I love to read your comments and suggestions.

There are a number of layers on this one, first used my homemade Gesso and stuck round mirrors at intervals, then stuck the long pipe glass beads and then covered the frame with the copper coloured seed beads. there was no need for glue as all this was embedded into Gesso layer. Used some metallic acrylic colors in copper , gold , black, green and blue on the frame with both wet and dry brushing technique.


I am in two minds ; whether to use this as a mirror after getting a piece of Mirror fixed in the frame or as a photo frame. your suggestions please........


lej-designs-challenge

Friday, June 28, 2013

Aluminium Foil Photo Frame

Hi Friends

Aluminium Foil Photo Frame 


Super talented Yvonne has a challenge on her blog and tutorial by Tone-Lill Angelskar to use something from your kitchen cupboard - aluminium foil here. The challenge is to create a paper project using aluminium foil and at least 2 upcycled items.
Aluminium Foil Photo Frame

I have made this photo frame from scratch. Used two pieces of  cardboard upcycled from a wedding invite,transparency sheet from packaging and jute twine to give texture to the front panel under the foil from a Mango carton. even the aluminium foil is recycled from using the foil that came with a food order as they use thicker foil for packaging.
Aluminium Foil Photo Frame


Foil Flower

I washed the foil with a light soap solution and dried with tissues, crushed the foil some more and doubled it to have a sturdier surface. Then cut the cardboards to size and marked and cut the window with my trusted paper knife. Glues the Jute rope on the front panel in squares and then the foil was pressed to create impression of the rope design. I have used a pen refill without ink to create little texture in the squares on the front panel. Fixed the foil on the front on three sides only( the fourth side is for sliding the pic in)  with Araldite as it gives a very strong bond. left it to dry overnight. Used Hobby ideas Metallic acrylic colors in green and blue to paint over the foil and distressed with wiping with a cloth while wet. Embellished it with a handmade flower using some crimped strips cut from foil and punched shapes..some sequins added for an extra touch of glitter!!


linking to Aluminium-foil-art-with-tone-lill
and The Itsy Bitsy 'All that Glitters' Challenge
and Artasticchallengeblog
Not just a housewife
and Let's Get Trendy Now!3 - Day 3: Handmade embellishments Embellishment used: handmade flower using some crimped strips cut from foil and punched shapes).

Hope you like it.

Thursday, June 27, 2013

Weaved Wool Mandala


This is the first ever woven Mandala tried by me. Just happened to see one of these while surfing the net and tried. I have been doing newspaper strip/rolls weaving and love to make tiny baskets. I did this mandala with the bamboo sticks taken from the bamboo mats waste material lying at home and some left over wool. My colour palette was limited but the result is not bad.......would try soon with other colours and patterns and share with you all. some more information about Mandalas ..........

Mandala is a spiritual and ritual symbol in Hinduism and Buddhism, representing the Universe.In common use, mandala has become a generic term for any plan, chart or geometric pattern that represents the cosmos metaphysically or symbolically; a microcosm of the universe. 
In various spiritual traditions, mandalas may be employed for focusing attention of aspirants and adepts, as a spiritual teaching tool, for establishing a sacred space, and as an aid to meditation and trance induction. In Indian and buddhist cultures Yantras and auspicious geometric designs are created to generate auspiciousness. 
Mandalas are also created to focus attention and create positive vibrations around it to achieve a goal, release positive energy, or for attracting good luck. Many ancient cultures use mandalas as a tool for healing and as a way of meditation. In Vastu Shastra also we use Vastu Purush Mandala to create harmonious spaces. The most auspicious Yantra , the Shri Yantra yielding prosperity is a representation of Lalita Mahatripurasundari, an aspect of Parvati.
some more pics...


Hope you like it and maybe try making it too....


Rainbow colors card


Hi Friends, this is a simple card for the Rainbow-colors-without-rainbow challenge, I have used handmade paper for the base .The PP is made with crepe paper left from my son's birthday celebrations, glued with a glue-stick on a shirt packing thick card and hand cut into a nice shape.Have wrapped a twine and embellished with a handmade twine flower. The lovely lace is courtesy my tailor who salvaged some pretty ones for me from the waste.  


Hope you like it..........


Monday, June 3, 2013

Quilled Masterpieces by Anant Nanvare


Hi Friends
Today I want to share with you the amazing work of  Mumbai based artist Anant Nanvare. He did these amazing portraits as part of a project during his Fine Arts course. I spoke to him a few times, a man of few words, he's right now active in the world of advertising in Mumbai. Feast your eyes on his quilling and other amazing projects..........


Doesn't he deserve to be counted amongst the best Quilling artists of the world!! See these amazing quilled portraits and plenty of other Artforms too on Anant's site

Related Posts Plugin for WordPress, Blogger...

LinkWithin

Related Posts Plugin for WordPress, Blogger...